Understanding Gaurda Wallet: Features and Benefits
The Essentials of Gaurda Wallet
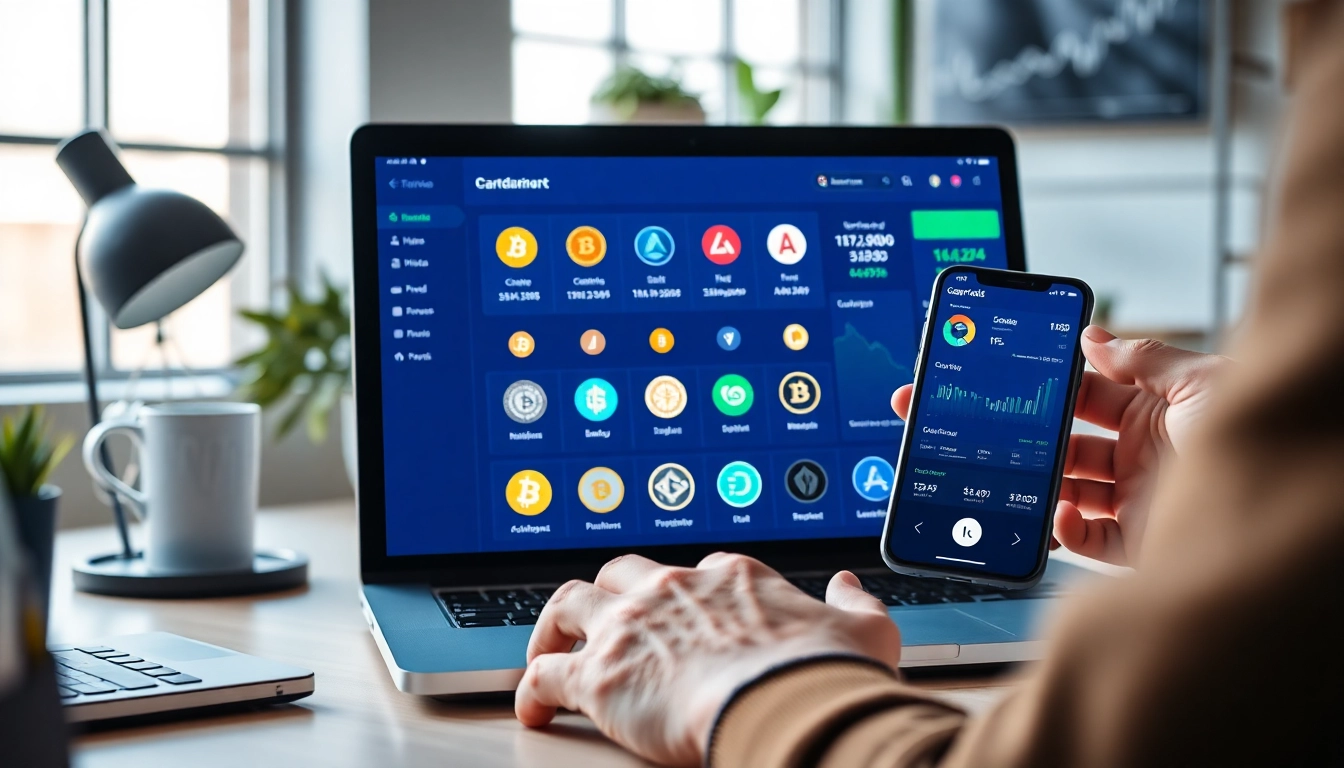
The gaurda wallet stands out as a non-custodial wallet that caters to both seasoned investors and cryptocurrency newcomers. It supports a wide array of cryptocurrency assets, enabling users to hold, manage, and exchange their digital currencies seamlessly. One of the key highlights of Gaurda is its compatibility with over 50 blockchains, allowing for the storage of thousands of tokens within a single interface.
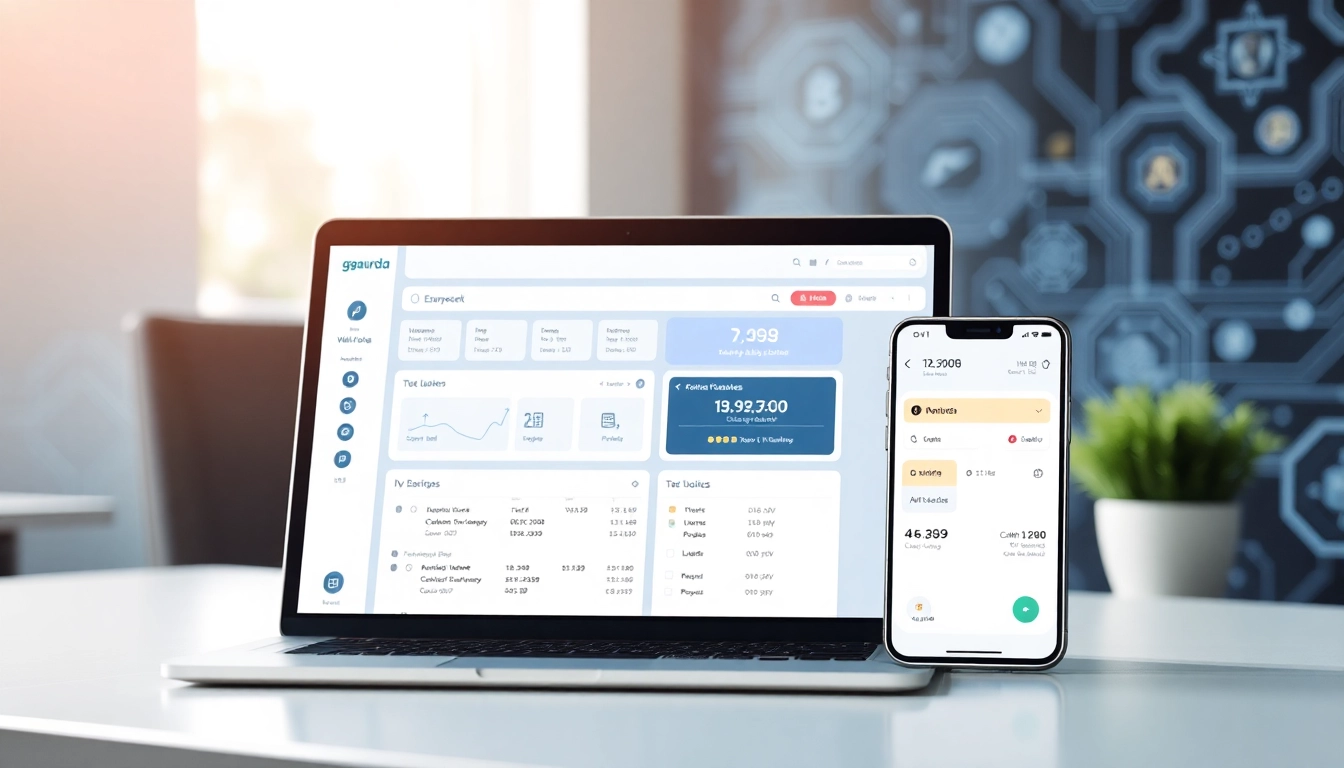
Gaurda Wallet operates on multiple platforms, which includes a web interface as well as mobile applications for both Android and iOS. This flexibility makes accessing your funds and managing transactions convenient and accessible from virtually anywhere. With a sleek dashboard and easy-to-navigate options, users can easily interact with their crypto assets, making Gaurda Wallet an attractive option for crypto enthusiasts.
Security Features of Gaurda Wallet
Security is paramount in the realm of cryptocurrency, and Gaurda Wallet places a strong emphasis on safeguarding user assets. As a non-custodial wallet, Gaurda does not hold private keys on behalf of users; instead, users maintain total control over their own private keys, which are stored locally on their devices. This architecture greatly reduces the risk of hacking compared to custodial wallets.
Additionally, Gaurda employs a series of layers to secure transactions. Features such as two-factor authentication (2FA) add an extra security dimension, ensuring that even if a password is compromised, unauthorized access to the wallet remains highly unlikely. Furthermore, the wallet’s ongoing updates and engagements with the crypto community help to continuously fortify its security measures.
User Benefits of Gaurda Wallet
A major draw of Gaurda Wallet is its user-friendliness, which is critical for those new to cryptocurrency. The intuitive interface is designed to make the process of storing, sending, and receiving cryptocurrencies uncomplicated. Users can quickly execute transactions without being overwhelmed by complex options.
Moreover, Gaurda Wallet offers several benefits, including built-in exchanging features that allow users to swap cryptocurrencies instantly without leaving the wallet’s interface. This convenience is complemented by staking options, empowering users to earn rewards on their holdings efficiently. Thus, not only can users manage their assets, but they can also actively grow their portfolio directly through the app.
Setting Up Your Gaurda Wallet
Step-by-Step Installation Process
Setting up your Gaurda Wallet is a straightforward process that can be completed in just a few minutes. To get started, you’ll first need to visit the Gaurda Wallet website or download the mobile application for your respective device.
1. Download the App: For mobile users, navigate to either the App Store or Google Play Store, search for Gaurda Wallet, and install the application.
2. Visit the Website: Alternatively, desktop users can go to the official Gaurda Wallet website and click on the ‘Download’ button for the appropriate version.
3. Installation: Follow the on-screen prompts to complete the installation process.
4. Open the Wallet: Once installed, open the wallet to begin the account creation process.
Creating Your Wallet and Securing It
Upon opening the Gaurda Wallet application or website, you’ll encounter an option to create a new wallet. Follow these steps:
1. Select ‘Create New Wallet’: Tap on the appropriate option.
2. Generate Your Seed Phrase: Gaurda will prompt you to create a recovery phrase. This phrase is critical for account recovery, so ensure it is stored securely and not shared with anyone.
3. Complete Security Setup: Implement any additional security measures recommended by Gaurda, such as enabling two-factor authentication.
Initial Configuration for Optimal Use
After successfully creating your wallet, it’s time to configure it for optimal use. Navigate to the settings section of the app to customize your experience:
1. Adjust Currency Preferences: Set your default cryptocurrency display preferences, allowing you to view your assets in your preferred units.
2. Explore Security Settings: Review available security options to enhance your wallet’s protection, ensuring you select the ones that best fit your needs.
3. Learn About Fees: Familiarize yourself with the fee structure associated with transactions to manage costs effectively.
Navigating Your Gaurda Wallet Interface
Overview of the Dashboard and Options
The Gaurda Wallet dashboard serves as your command center for managing your cryptocurrency assets. Upon logging in, users are greeted with a clean, visually appealing interface that categorizes functionalities for ease of access.
The main sections typically include:
- Asset Management: An overview of your cryptocurrency holdings and their respective values.
- Transactions: Quick access to past and pending transactions, providing clarity on your spending and earning patterns.
- Exchange Options: An easy-to-navigate exchange feature allowing for the swapping of cryptocurrencies.
Managing Assets Within the Gaurda Wallet
Asset management within Gaurda Wallet is user-centric, allowing users to easily add, remove, and transfer assets. Each asset can be accessed through the dashboard. Here’s how you can effectively manage your assets:
1. Add Assets: Users can add new cryptocurrencies by selecting from a list of supported tokens within the wallet.
2. View Asset Details: Clicking on a specific asset will provide comprehensive analytics, including historical price data and performance metrics.
3. Transferring Assets: Use the transfer option to send cryptocurrencies to other users. The platform provides straightforward fields for wallet addresses and amounts.
Advanced Features for Experienced Users
For seasoned crypto enthusiasts, Gaurda Wallet offers advanced features to cater to more sophisticated investment strategies. This includes:
1. Multi-Currency Swaps: The wallet supports multi-swap functionalities, allowing users to exchange multiple cryptocurrencies in a single transaction.
2. Staking Options: Gaurda provides staking functionalities that enable users to lock their assets for earning rewards, directly through the wallet interface.
3. Integration with DeFi Services: For those interested in decentralized finance, Gaurda Wallet facilitates integration with various DeFi protocols, enabling participation in yield farming and liquidity pooling.
Transaction Processes with Gaurda Wallet
Sending and Receiving Cryptocurrencies
Transactions made through Gaurda Wallet are designed to be quick and efficient. To send cryptocurrencies:
1. Select ‘Send’: From your asset management section, select the cryptocurrency you wish to send.
2. Input Recipient’s Wallet Address: Enter the destination wallet address carefully, as errors cannot be recovered.
3. Specify Amount: Indicate the amount to transfer and review any associated fees before confirming the transaction.
Receiving funds is equally straightforward. Encourage senders to use the ‘Receive’ option, which provides a QR code or wallet address that can be shared.
Executing Swaps with Gaurda Wallet
The swap feature is a highlight for Gaurda Wallet users. To execute a swap:
1. Choose ‘Swap’ from the Dashboard: Navigate to the swap section of the dashboard.
2. Select Trading Pairs: Choose the cryptocurrencies you want to swap.
3. Enter Amount: Input the amount for the swap and review the swap rate.
4. Confirm Transaction: Once you are satisfied with the rates and details, confirm the execution of the swap.
Staking and Earning Rewards
Gaurda Wallet provides opportunities for users to earn passive income through staking. To stake your assets:
1. Select ‘Stake’ from the Menu: Choose the asset you wish to stake.
2. Input Amount: Specify how much you want to stake and set the staking duration if applicable.
3. Opt for Automatic Reinvestment: Users can select to automatically reinvest earnings, growing their staking rewards over time.
Understanding Fees and Limitations of Gaurda Wallet
Fee Structure Breakdown
Understanding the fee structure is vital for efficient wallet management. Gaurda Wallet employs a transparent fee strategy:
1. Transaction Fees: Fees associated with sending or receiving cryptocurrencies vary depending on the asset and network congestion.
2. Swap Fees: Gaurda charges a small fee during the swapping of assets. Review this fee prior to executing any trades.
3. Staking Fees: There may be minimal fees associated with staking, which can impact overall returns.
Transactions Limits and Policies
Gaurda Wallet also incorporates limits on transactions to safeguard users and ensure network stability:
1. Minimum Transfer Amount: Each cryptocurrency has a minimum transfer amount. Be aware of these limits when initiating transactions.
2. Daily Limit Policies: Some wallets enforce daily withdrawal limits. It’s essential to check your limits within your account’s settings.
Best Practices to Minimize Costs
To optimize your experience and minimize costs while using Gaurda Wallet:
1. Combine Transactions: Whenever possible, batch multiple transactions into one to reduce per-transaction fees.
2. Timing: Be mindful of transaction fees that can fluctuate based on network congestion. Timing your transactions can lead to significant savings.
3. Stay Updated: Keep abreast of updates related to fees or changes in policies which may affect your transaction experience.